


Top Stretching Exercises for Pelvic Muscles You Can Do at Home

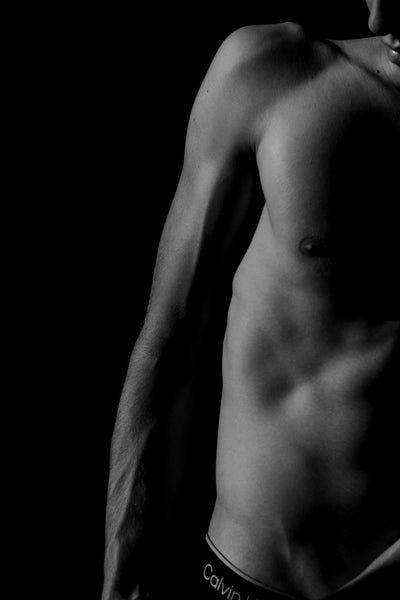
The pelvic floor supports the organs of the pelvis and contributes to arousal and orgasm. Like any muscle group, it needs both strength and the ability to relax fully to function well.
When the pelvic muscles are too tight (hypertonic), they can cause pain or restrict movement. When they’re too weak, they lose tone and support. Many people experience a mix of both patterns without realizing it.
In this guide, we’ll explore why stretching and balancing the pelvic floor is essential, and how to do it safely through targeted exercises that restore strength & mobility.
The Pelvic Floor & Diaphragmatic Breathing
The diaphragm and pelvic floor work as a team and every inhale and exhale creates a natural rhythm between them. When your breathing is shallow or tight, that rhythm breaks down, and the pelvic muscles can become tense or disconnected from the rest of your core.
Healthy breathing allows the pelvic floor to move and to lengthen, soften, and gently lift again. This movement keeps blood flow and circulation healthy and helps the muscles release unnecessary tension. For anyone with a tight or hypertonic pelvic floor, learning to breathe properly is one of the most effective first steps toward relaxation and healing.
This is where 360° diaphragmatic breathing is an important element. As you inhale, the diaphragm moves downward and the ribs expand in all directions. The belly and pelvic floor naturally follow, descending and softening. As you exhale, the breath moves upward again, allowing a gentle recoil or lift through the pelvic floor.
Practicing this kind of breathing daily can help your entire core system function more smoothly.
The Core Exercises
Kegel Awareness and Release
The goal of kegel practice is to teach your pelvic floor its full range of motion, which i the ability to let go fully and then contract with control. This awareness is essential for both tight and weak muscle patterns.
Start lying on your back with your knees bent, feet flat, and spine in neutral. Rest one hand on your rib cage and the other on your lower belly. As you inhale, feel your ribs widen. Imagine your sit bones drifting apart and the perineum lowering, this is your reverse Kegel, or release phase. As you exhale, create a gentle lift starting from the anus, moving forward toward the vagina and urethra, as if stopping gas and lifting a tampon slightly. Keep the glutes soft and avoid flaring the ribs.
Aim for slow, steady breathing with about 4–5 seconds to inhale and release, followed by 4–5 seconds to exhale and lift. Begin with 6–8 cycles focused purely on the release, then 6–8 gentle lifts at about 30–50% effort. You should feel a clear drop on the inhale and a subtle, zipper-like lift on the exhale.
Common mistakes include clenching the buttocks, holding the breath, or pushing downward rather than lifting. Once the release phase feels effortless, you can add short holds of 3–5 seconds during the lift phase to build endurance and control.
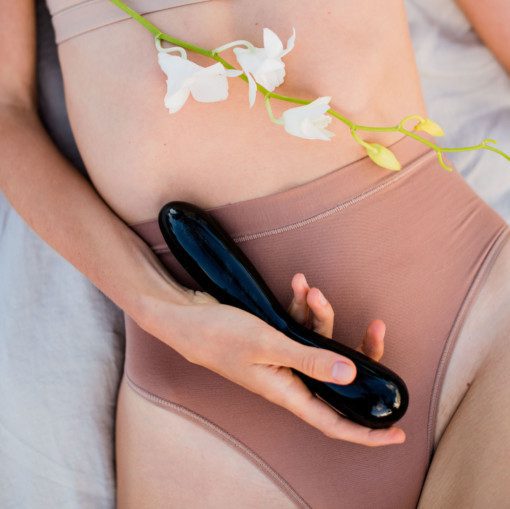
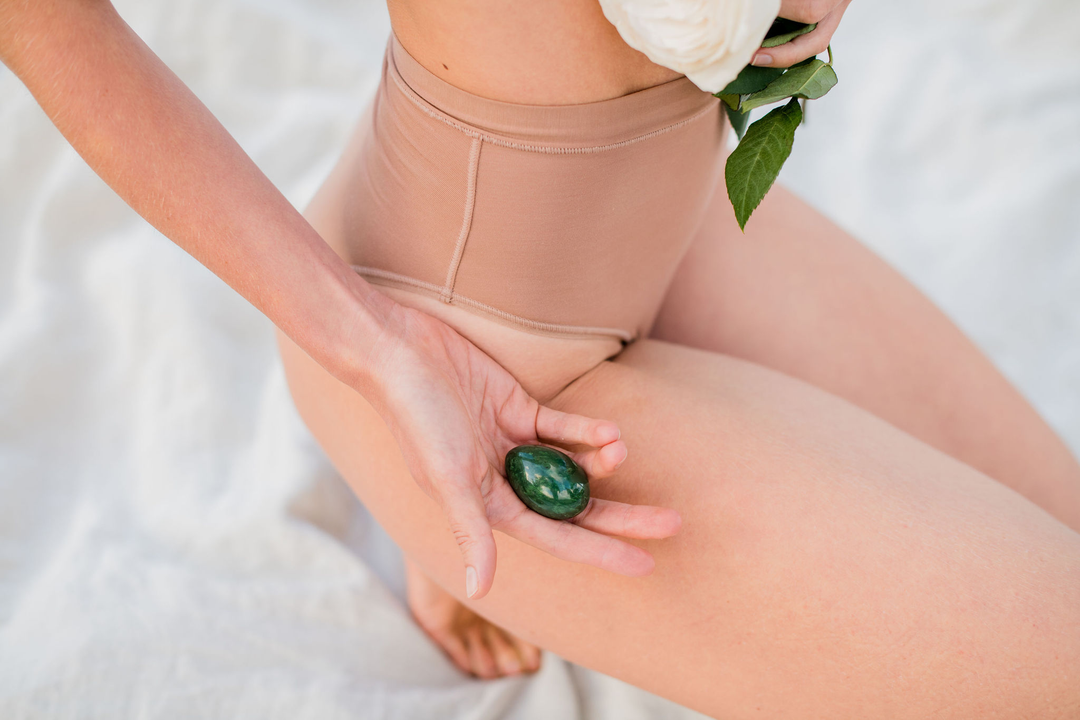
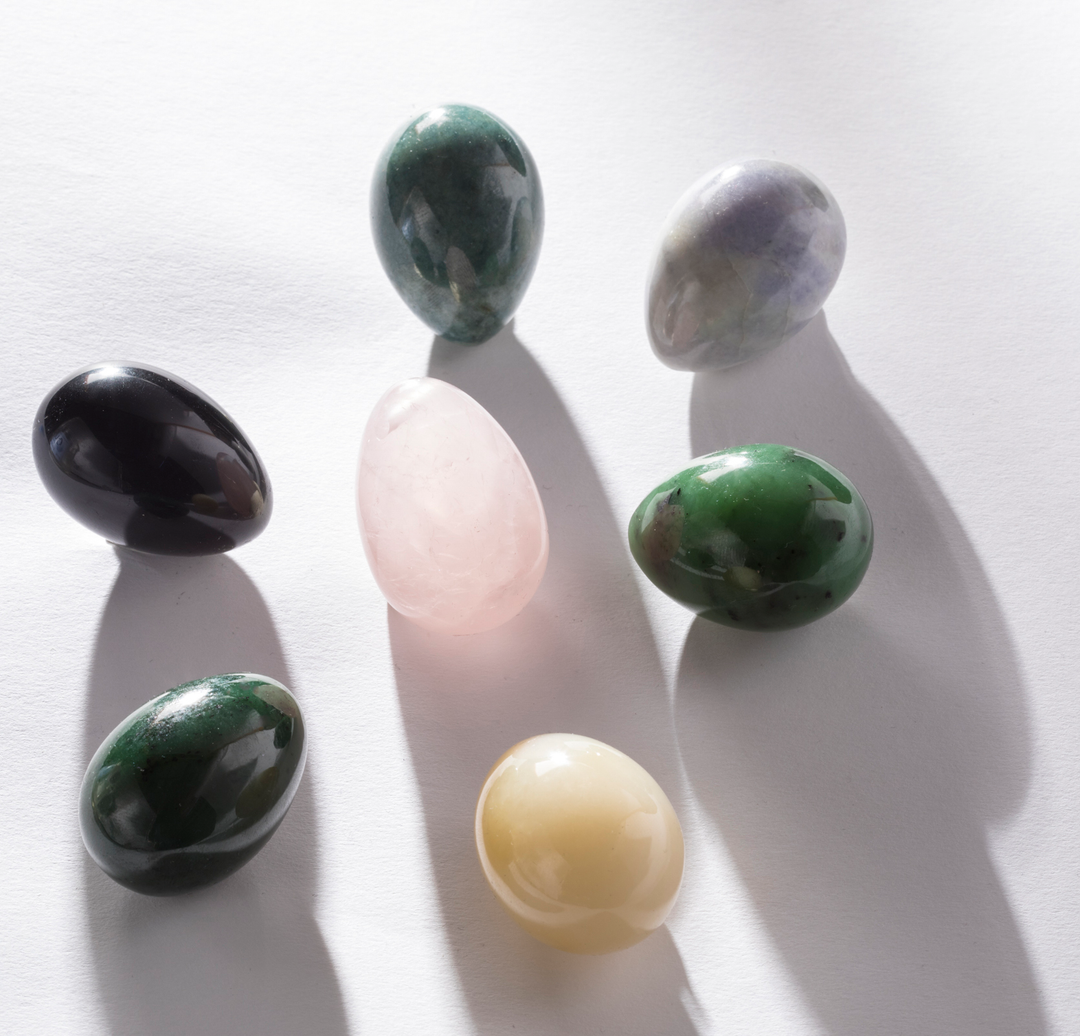
Kegels with a Yoni Egg
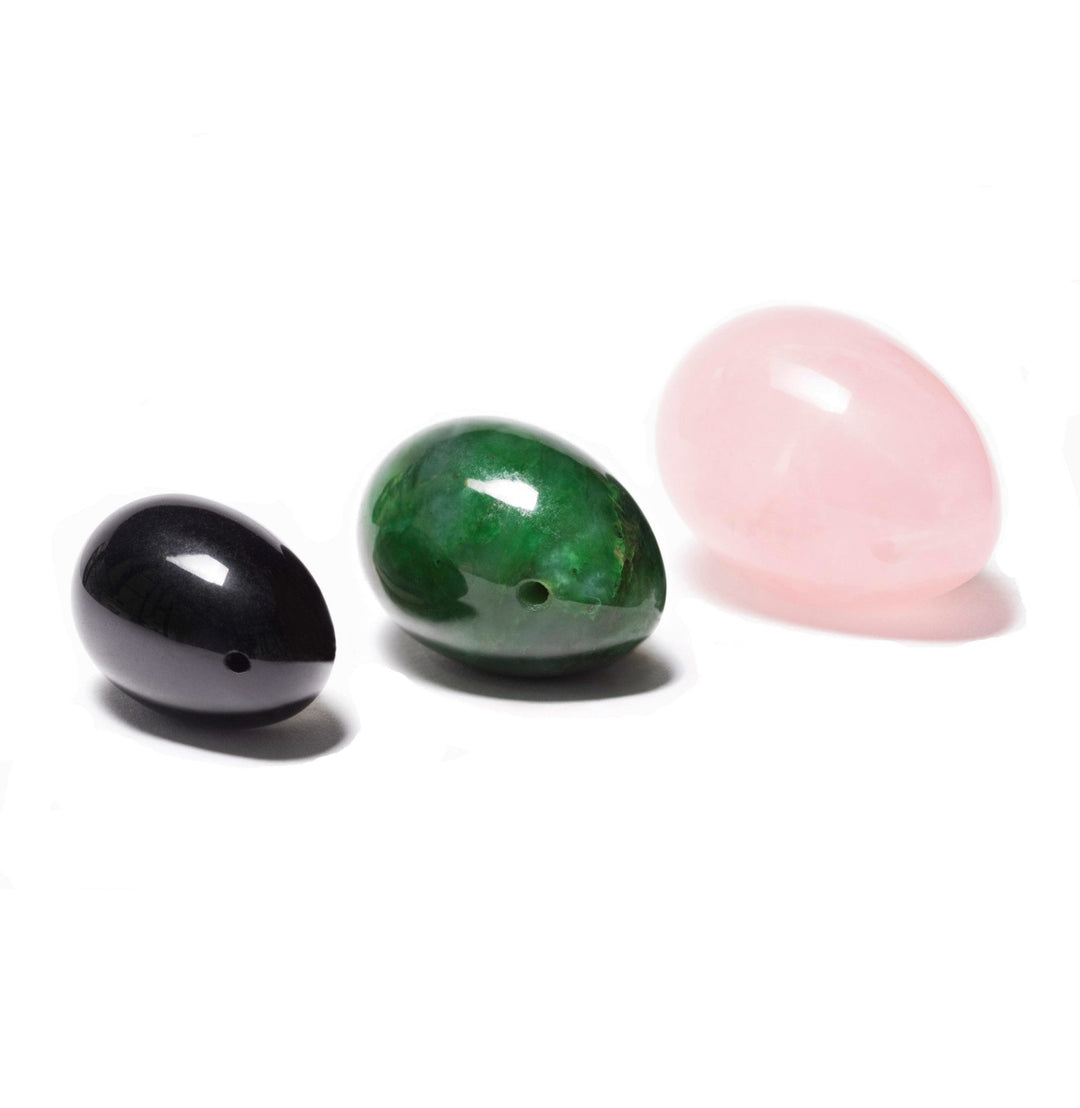
Once you can clearly feel your pelvic floor release on an inhale and lift on an exhale, you can begin adding gentle feedback with a yoni egg. The goal here is to refine your awareness and teach your pelvic floor its full range.
Choose a smooth, body-safe yoni egg. Medium size is best for beginners, and a drilled option allows you to thread a string for easy removal. Wash it with mild soap and warm water before each use. Apply a small amount of water-based lubricant to the egg and vaginal opening.
Begin in a semi-reclined or side-lying position with knees bent and feet flat. Relax your shoulders, jaw, and belly. Take a few slow, 360° breaths to connect with your pelvic floor movement: as you inhale, feel the ribs expand and the perineum lower; as you exhale, sense a gentle lift, like drawing a thread upward through the center of the pelvis.
When inserting the egg, take a long inhale to soften, then let the next exhale and a light lift draw it in naturally. There should be no pushing or force. Once it’s comfortably placed, begin the core protocol: one breath equals one repetition. On the inhale, feel the egg settle down as you release; on the exhale, create a light hug or lift (about 30–40%) around the egg for 2–3 seconds. Fully release before the next breath. Do 8–10 breaths, rest for about a minute, then repeat for 2–3 rounds.
After one to two weeks, if you’re pain-free and can relax easily, you can progress by adding gentle endurance holds. During the exhale, lift to about 50–60% effort and hold for 5–8 seconds, followed by a full 8–10 second release. Complete 6–8 holds for two sets, and only add short “quick lifts” (one second up, two seconds off) once your release phase remains soft and responsive.
Avoid common mistakes like clenching the glutes, bearing down, skipping the release, or holding your breath. Softness and control matter more than strength. Exhaling gently with a whisper of “sss” or “shhh” can help manage pressure and keep the lift precise.
Bridge Pose with Pelvic Awareness

Bridge Pose strengthens the posterior chain, the glutes, hamstrings, and lower back, while helping the pelvic floor coordinate its natural recoil with movement.
Begin lying on your back with your knees bent and feet hip-width apart, close to your sit bones. Keep your spine in neutral and your arms relaxed by your sides. Take an inhale to let your ribs widen and your pelvic floor release. As you exhale, gently press through your heels and peel the spine off the mat one vertebra at a time, lifting the hips without arching the back or flaring the ribs. Pause briefly at the top, inhale into your rib cage, and then exhale slowly to lower the spine back down with control.
Move with steady breath, about three seconds up and three seconds down, for 6–10 repetitions, completing 2–3 sets. Focus on lifting from the hips rather than the ribs, keeping the glutes firm but not clenched. At the top, your body should form a long line from shoulders to knees without gripping or pushing.
To make it easier, try a mini bridge, lifting just a few inches off the floor. To progress, add a small adductor squeeze by placing a soft ball or folded pillow between the knees to encourage inner-thigh activation and pelvic alignment.
Heel Slides

Heel slides are a subtle but powerful exercise for training pelvic stability and helping the pelvic floor lengthen and recoil naturally with breath.
Start lying on your back with your knees bent and your pelvis in neutral. Take a slow inhale to prepare. As you exhale, slide one heel forward along the floor, extending the leg without allowing the pelvis or lower back to rock. Inhale to draw the leg back to the starting position, then switch sides.
Keep the movement small and controlled, maintaining even contact with the floor through your pelvis and rib cage. You should feel gentle lower-belly engagement, enough to steady the pelvis, but without bracing or tensing the abs.
Perform 2 sets of 6–8 slides per side. Focus on keeping the breath fluid and the core steady. Avoid common mistakes such as tipping the pelvis, holding your breath, or pulling the leg back with tension instead of smooth control.
Squats (Deep or Supported/Yogi Squat)

Squats are one of the most functional movements for pelvic health. They help lengthen the pelvic floor, open the hips, and safely load the connective tissues that support the pelvic organs. When done mindfully, they also improve mobility in the calves and spine while teaching the pelvic floor to yield under load rather than brace.
Stand with your feet slightly wider than hip-width, toes turned out as needed for comfort. Hold onto a stable surface such as a counter or doorframe for balance. As you inhale, slowly lower into a supported deep squat, allowing the knees to track over the toes while keeping your chest lifted. Feel your sit bones widen and your pelvic floor soften. As you exhale, press evenly through your feet to return to standing, allowing a natural recoil and gentle lift through the pelvic floor.
Perform 5–8 slow, controlled repetitions. For a long-hold variation, sit on a yoga block or low support with your knees wide and your heels grounded, staying for 45–90 seconds. Focus on the sensation of gentle lengthening between the sit bones, not on pushing or bearing down.
If the deep squat feels too intense, regress to a sit-to-stand from a chair to build strength and range gradually. To progress, add gentle rocking side-to-side or small heel lifts at the bottom to explore more pelvic mobility and balance.
Marches (Supine Marching)
Supine marches train pelvic control and stability while introducing light single-leg loading, which is a key step toward rebuilding coordinated core strength.
Lie on your back with your knees bent, feet flat, and pelvis in a neutral position. Take an exhale to engage your lower abdominals gently, as if zipping up from the pubic bone to the navel. Maintaining this connection, slowly lift one knee toward tabletop height without tipping the pelvis or flattening the lower back. Inhale as you lower the foot back down, then alternate sides.
Keep your breath steady and your rib cage anchored as you move. You should feel the deep core working to stabilize the pelvis rather than the superficial abs tightening or the ribs flaring.
Perform 2 sets of 6–10 repetitions per side, moving with control and awareness. Avoid shifting your hips or tipping toward the opposite side as your pelvis should remain steady throughout the movement.
Pelvic Tilts

Pelvic tilts are one of the simplest ways to bring gentle mobility back into the lower spine and pelvis. They help reduce unconscious holding patterns, ease tension in the pelvic floor, and create a sense of grounding through rhythmic movement.
Start lying on your back with your knees bent and feet flat, or try the exercise standing against a wall. As you exhale, gently tuck the tailbone under so the lower back moves closer to the floor or wall (a posterior tilt). As you inhale, allow the pelvis to roll forward slightly, creating a small arch in the lower back (an anterior tilt). Move slowly and stay within a pain-free range — this isn’t about large motion, but about smoothness and awareness.
Continue for 1–2 minutes of continuous, fluid movement, letting the breath guide the rhythm. You should feel a gentle glide at the sacrum, not strain. As you progress, you can add small side-to-side weight shifts to explore how the pelvis moves in multiple planes, further releasing tension and improving coordination.
Happy Baby Pose
Happy Baby is a restorative pose that directly lengthens the pelvic floor while soothing the nervous system. It opens the inner thighs and hips, allowing the base of the pelvis to soften and expand naturally.
Lie on your back and bring your knees toward your chest. Hold either your big toes, ankles, or behind your thighs, whichever feels most accessible. Let your knees open wide toward your armpits and keep your spine long on the mat. Take slow inhales into the back and sides of your ribs, feeling the breath widen your lower body, and gentle exhales to release tension.
You can stay still or add a slow, side-to-side rocking motion to massage the lower back and deepen the release. Hold the pose for 45–90 seconds, resting and repeating for 2–3 rounds. Let your jaw, shoulders, and belly relax.
If the position feels too intense, loop a strap behind each thigh to reduce strain. To progress, you can experiment with slow knee extensions, one side at a time, to gently open the hamstrings while maintaining pelvic floor awareness.
Bird Dog

Bird Dog builds spinal stability and deep core control while encouraging the pelvic floor to respond naturally to movement. It integrates the entire trunk and the shoulders, spine, and hips, teaching coordination and balance without gripping or strain.
Start on all fours with your hands under your shoulders and knees under your hips. Keep your spine neutral and your ribs softly stacked over your pelvis. Take an exhale to gently engage your lower abdominals, then extend your right arm forward and your left leg back, reaching long through both ends. Avoid arching the lower back or shifting your weight to one side. Inhale as you return to center and switch sides.
Hold each extension for about three seconds, maintaining steady breath throughout. Complete 2 sets of 6–8 repetitions per side. Keep your movements controlled and your breath smooth. Common mistakes include hiking the hip, collapsing through the lower back, or holding your breath.
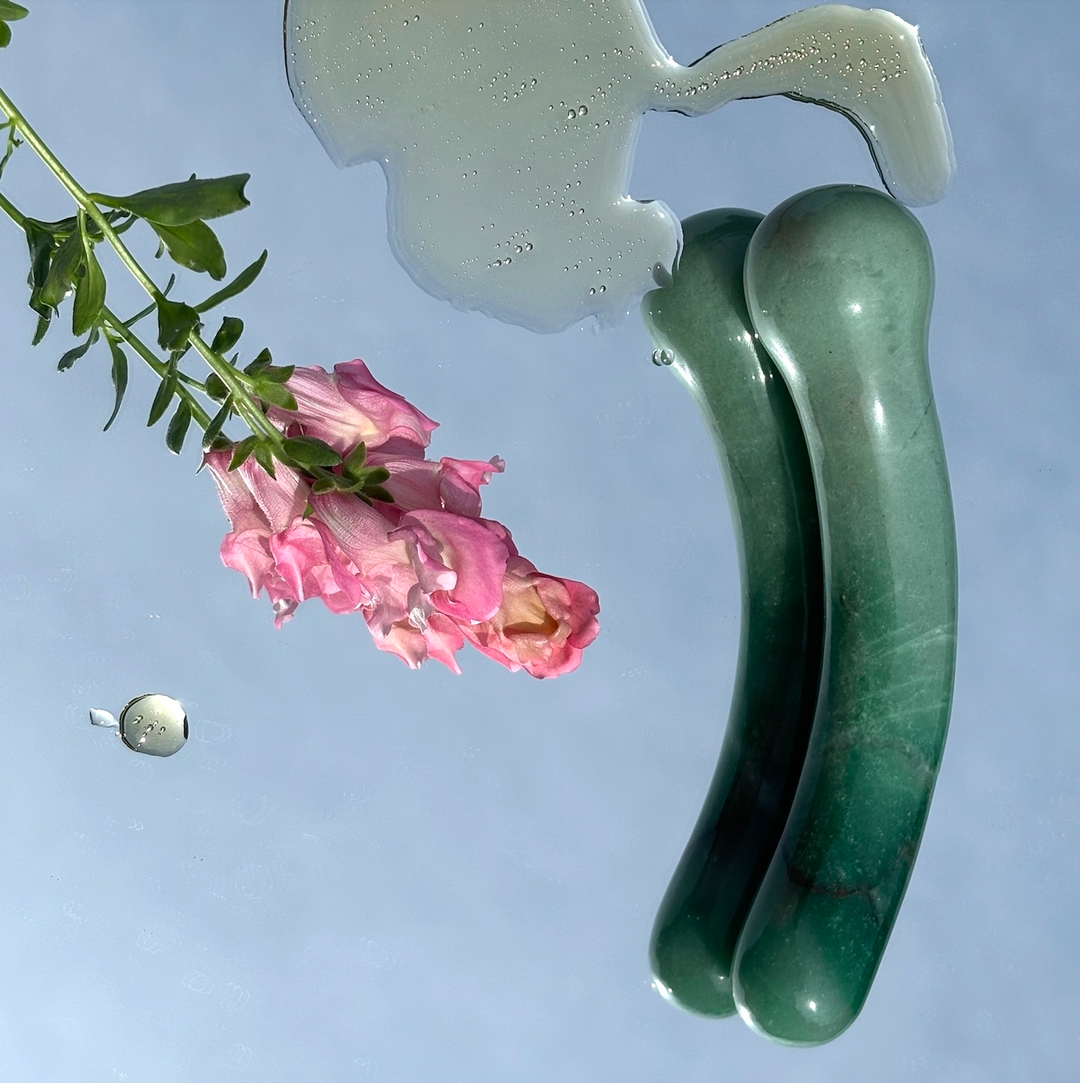
Crystal Wand Work & Pelvic Healing
For many, reconnecting to the pelvic floor begins through movement and breath, yet, over time, awareness deepens. You may begin to sense layers of holding that lie deeper within the tissues, places that movement alone doesn’t quite reach. This is where gentle, therapeutic tools such as crystal wands can help achieve different levels of physical release and embodied awareness.
When used externally, the wand can be rolled or pressed gently on the inner thighs, hips, lower abdomen, or around the tailbone to encourage relaxation of the tissues that influence the pelvic floor. Slow, mindful contact in these regions combined with diaphragmatic breathing can help release surface tension and bring awareness to areas that feel tight or tender.
Used intentionally, wands invite presence. Their smooth surface and cool touch can help you become more attuned to where you hold subtle tension. When approached with mindfulness, this type of bodywork can complement your existing stretching and breathing practices by helping the nervous system feel safe enough to let go.
Frequently Asked Questions
Loosening tight pelvic floor muscles starts with awareness and release. When the pelvic floor holds tension, known as pelvic floor hypertonicity, it can lead to pelvic pain, sexual dysfunction, or difficulty with a bowel movement. The most effective way to begin is through stretching exercises for pelvic muscles and practicing diaphragmatic breathing. As you inhale, allow the rib cage to expand and the pelvic floor muscles to gently descend; as you exhale, let them recoil naturally. This restores the movement pattern that allows the muscles to relax instead of grip.
Gentle pelvic floor stretches such as Child’s Pose, Happy Baby, and Supported Deep Squat help lengthen the tissues around the pubic bone and hips, while pelvic tilts performed lying down with knees bent and feet flat encourage mobility through the sacrum and core muscles. Over time, this combination of breath and movement reduces pelvic floor muscle tension and allows the area to function properly again.
Stretching the muscles around the pelvis supports the balance between a strong pelvic floor and a flexible one. These stretching exercises help release tense pelvic floor muscles, improve sexual function, and relieve pressure from the nearby muscles that influence the pelvic floor, including the hips, glutes, and lower back.
To begin, focus on slow, rhythmic pelvic floor exercises that follow your breath. Try Child’s Pose or Happy Baby, where the knees are wide and the feet are flat, allowing the pelvic floor to soften as you inhale. The deep squat (also called Yogi Squat) is another effective way to open the hips and stretch the pelvic organ area. In a standing position or supported squat, inhale as you lower, exhale as you rise, and move with the intention of releasing, not bearing down.
These pelvic stretches can be done daily for short periods, and over time they help ease discomfort, improve mobility, and support sexual health by encouraging a more healthy pelvic floor. When done correctly, they also help prevent pelvic floor dysfunction such as pelvic organ prolapse and pelvic floor problems linked to prolonged holding tension.
Every body is different, and the time it takes to loosen tight pelvic floor muscles depends on the cause of the tension and how long it’s been present. With consistent stretching exercises for pelvic muscles, diaphragmatic breathing, and pelvic floor therapy, many people start to notice improvement within four to six weeks. However, if pelvic floor dysfunction, hypertonic muscles, or pelvic floor issues have developed over time, full release and recovery may take several months of guided practice.
A pelvic floor physical therapist can evaluate whether your pelvic floor is too tight, too weak, or both. Through pelvic floor physical therapy, they may use techniques such as internal release, specific exercises, or gentle manual therapy to help the muscles function properly again. It’s important to move gradually and combine stretching exercises with strengthening exercises like Kegels or Bridge Pose once the muscles can relax freely.


Leave a comment